Step-by-Step Guide to a DIY Kitchen Remodel: Save Money and Stay on Trend
A kitchen remodel can significantly enhance both the functionality and aesthetic appeal of your home. With a DIY kitchen remodel, you have the potential to save money while keeping your space modern and stylish. This comprehensive guide will take you through each step of the process, ensuring you stay on-trend while minimizing costs.
1. Planning Your Remodel
Define Your Goals
Before diving into a DIY kitchen remodel, clearly outline your objectives. Are you looking to improve storage, update appliances, or rejuvenate the overall design? Identifying your primary goals will guide decisions throughout the process.
Budgeting
Creating a budget is essential for any remodeling project. Research average costs for materials, appliances, and any professional help you may need. Allocate additional funds for unexpected expenses. A budget will keep your DIY kitchen remodel on track financially.
Design Inspiration
Gather inspiration for your project. Utilize platforms like Pinterest, home improvement websites, and magazines to help visualize your ideal kitchen. Look for trends that resonate with you, such as open shelving, smart appliances, or minimalist designs.
2. Layout and Functional Design
Select a Layout
The kitchen layout plays a crucial role in functionality. Common designs include U-shape, L-shape, and galley kitchens. Evaluate your space and determine which layout optimally meets your needs. Consider factors like workflow and accessibility.
Choose a Color Scheme
Select a color palette that aligns with your style preferences. Neutral shades often feel timeless while bolder hues can make a statement. A well-thought-out color scheme keeps your kitchen cohesive and visually appealing.
3. Preparing for the Remodel
Gather Tools and Materials
Make a comprehensive list of all essential tools and materials needed for your DIY kitchen remodel. Basic tools may include a hammer, screwdriver, level, and utility knife. Ensure you invest in quality materials that align with your design vision.
Set a Timeline
A detailed timeline will keep your project organized. Outline each phase, from demolition to installation. Be realistic about how long each task will take, accounting for both skill level and potential obstacles.
4. Demolition Phase
Prepare the Space
Before starting, clear all items from your kitchen cabinets, counter, and appliances. Protect any areas not undergoing renovation with drop cloths or plastic sheeting to prevent damage.
Demolish Carefully
Begin with non-structural elements such as cabinets and countertops. If removing walls, consult a professional to ensure they are not load-bearing. Use proper safety gear, including goggles and gloves, during demolition.
5. Structural Changes and Repairs
Address Electrical and Plumbing
If your remodel includes relocating appliances or fixtures, you may need to update electrical wiring or plumbing. Always consult a professional for compliance with local codes and safety standards.
Wall Repair and Preparation
After demolition, repair any damaged drywall or studs. Apply a fresh coat of primer to prepare walls for paint or tile. Ensuring walls are smooth and clean is crucial for the longevity of finishes.
6. Installation
Cabinet Installation
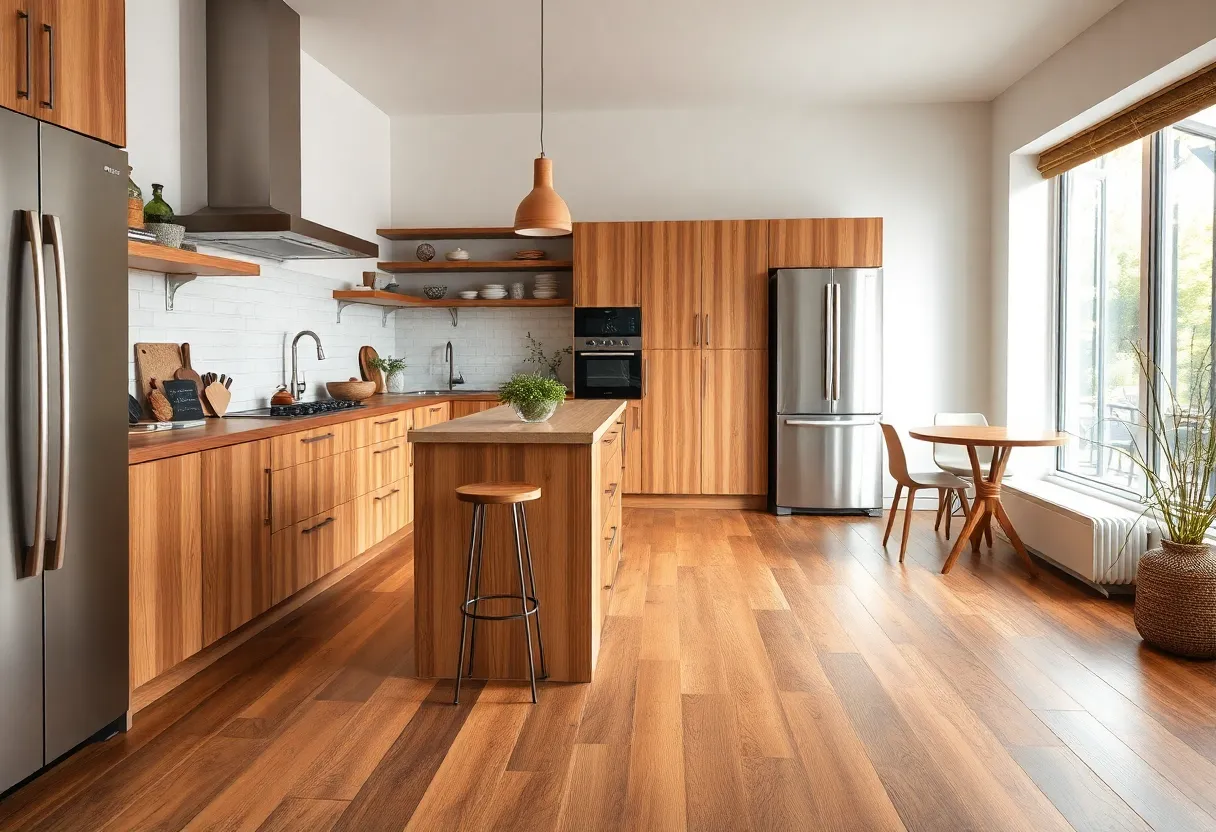
Start with cabinets, as they form the foundation of your kitchen. Ensure they are level and securely attached to the walls. Consider open shelving for a modern touch and extra storage.
Countertops
Choose a countertop material that complements your overall design. Install it following the manufacturer’s instructions, ensuring proper sealing and adhesion.
7. Finishing Touches
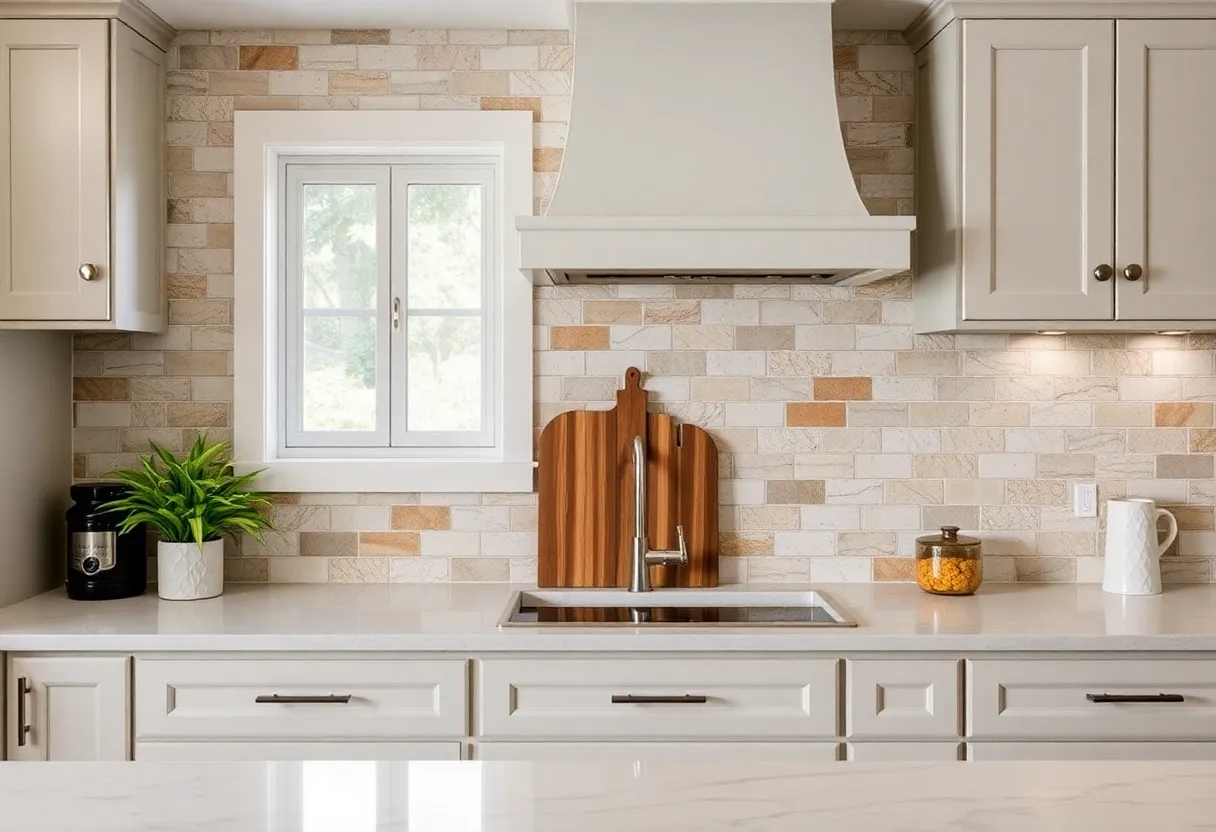
Painters and Backsplashes
Paint your walls in your chosen color scheme. Consider adding a trendy backsplash that not only enhances visual appeal but is also easy to clean. Materials like subway tiles or glass can provide an updated look.
Lighting Fixtures
Lighting can dramatically change the ambiance of your kitchen. Consider pendant lighting over the island or under-cabinet LEDs to brighten up workspace. Make sure fixtures are energy-efficient to save on long-term costs.
8. Final Steps
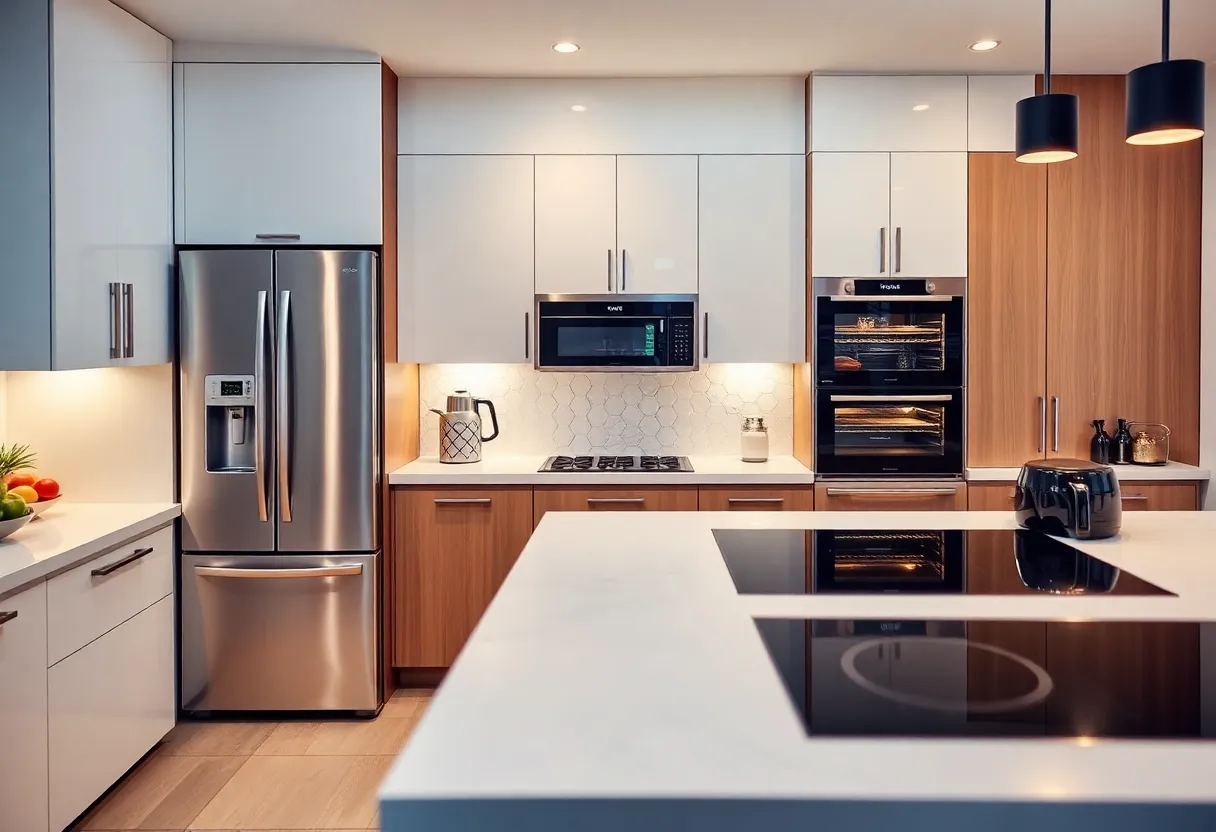
Appliances
Install appliances according to the manufacturer’s guidelines. Choose energy-efficient models that fit seamlessly into your kitchen’s design. Proper installation ensures safety and optimal performance.
Accessorizing
Add the final touches with accessories such as bar stools, decorative items, and functional tools like a knife block or utensil holder. These small details personalize your kitchen and enhance its functionality.
Conclusion
A DIY kitchen remodel can transform your space while saving money. By following this step-by-step guide, you can achieve a modern, functional kitchen that reflects your style. With careful planning and execution, your dream kitchen is within reach.